
Anyways, the only thing closer to getting the real thing is to try and make the cookies on your own. The idea of the cookie is that you use up all your leftover potato chips, chocolate, pretzels, goldfish, crackers, various chocolate chips, etc. The infamous cookie is called.....drumroll please....THE COMPOST COOKIE! Get it??
I've been researching around the food blog arena and found that there were many reviews written after people tried making the cookies at home....mostly, they were disastrous. It also appeared on The Amateur Gourmet, if you read all the reader comments on this recipe you'll see what I mean by disastrous. Although, two batches later I think I have come up with a decent compost cookie recipe, however it's by no means comparable to the real thing!
Mistake Number 1: For those of you who are lazy and can't wait for the dough to chill completely in the fridge or freezer for at least 2 hours, but better overnight, then you will get cookies that spread like these did. That was my very first batch, I was so excited I didn't wait even an hour, as you can see that wasn't a good idea. Also not a good idea, to put so many cookies on one cookie sheet. Try about 10!
 Mistake Number 2: Not letting the cookies cool completely before putting them on a plate or taking them to your friend's birthday party in this container....and then covering it with foil, you end up with cookies that look like shit, literally! At least that's what all my friends were telling me. Most of them did find the cookies to be sort of addicting and they felt the more they ate the better they tasted...that also could have been all the beer we drank at the party! I'll never know.

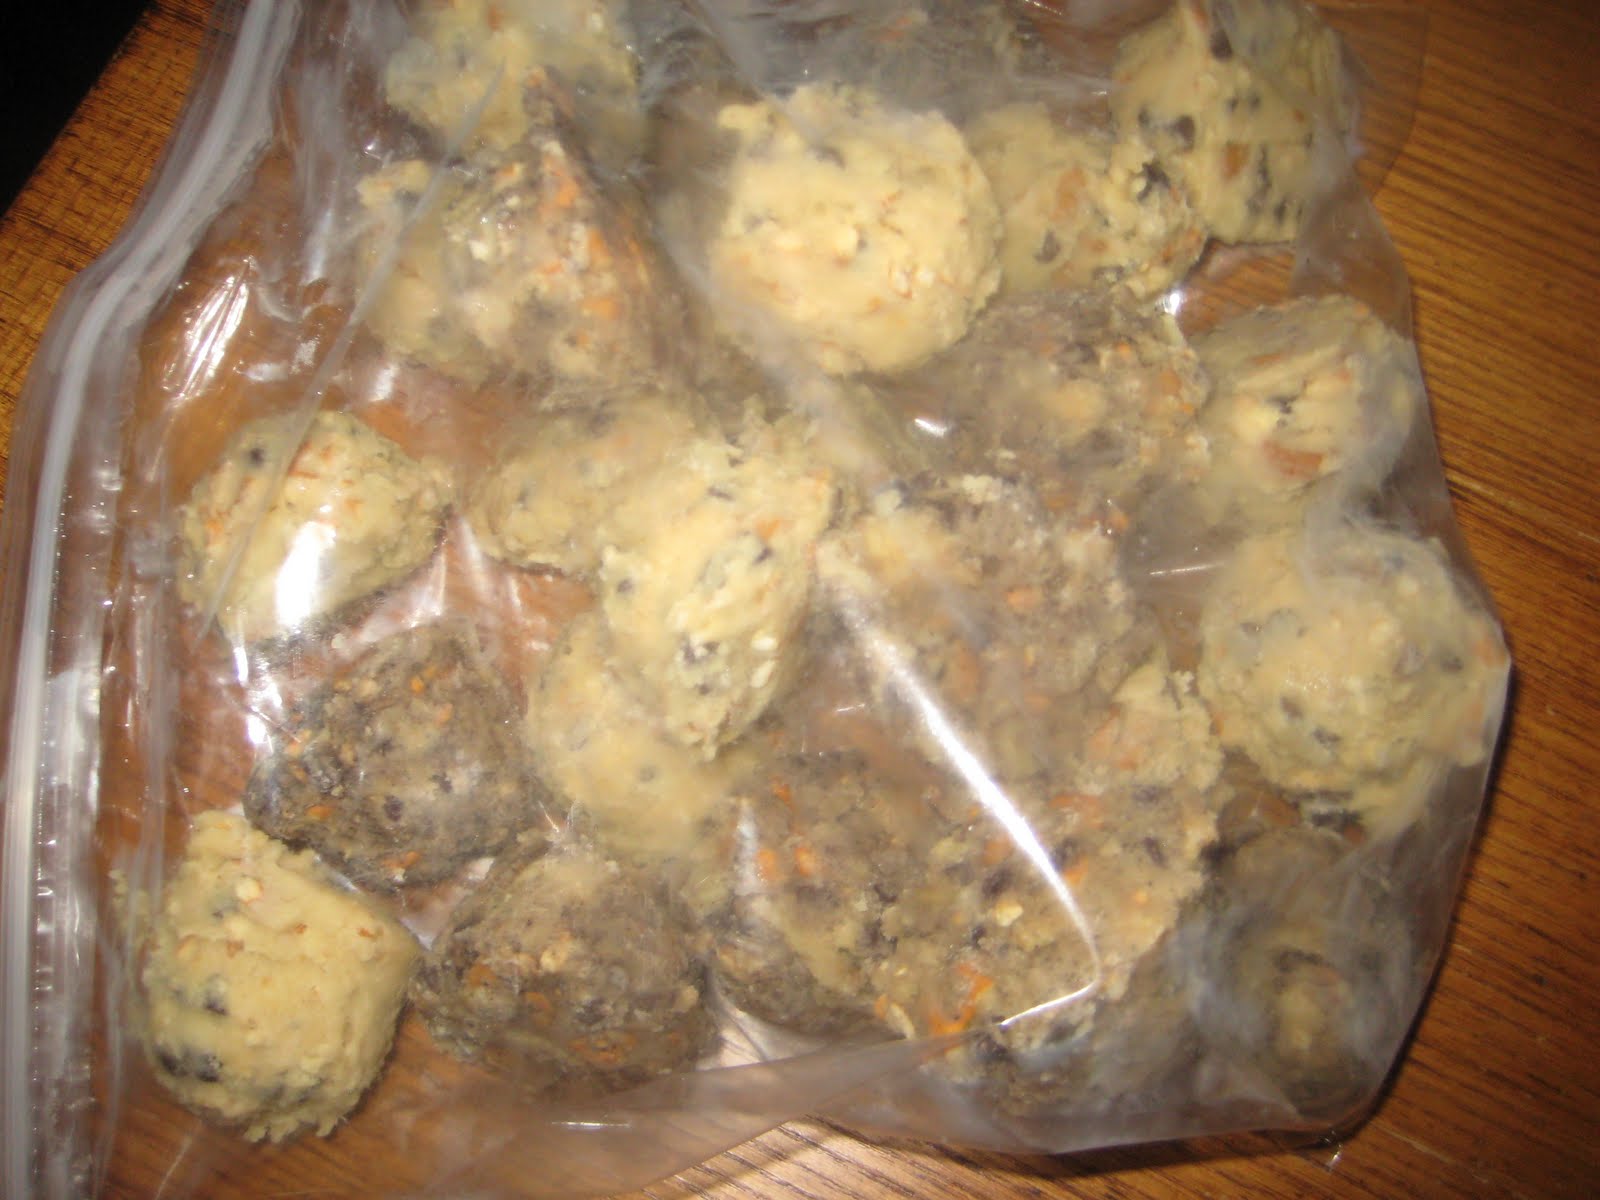
 I froze the rest of the dough balls on a cookie sheet and the put them in a baggie for future use. Keep them in the freezer. And when you want to bake them let them thaw out enough for you to be able to smoosh them down in the center a tad, I'm coining this as the smoosh down method.
 Hey there, I hope you are still reading this post, if you are I'm impressed! If I scared you from ever making this recipe or bored you at all, I'm sorry. But, I swear it's not as hard as it sounds! Here's the second batch, without coffee grounds, baked again, using the smoosh down method before baking. A preheated 400 degree oven and 14 minutes to be exact! I tested them on five 4 year old girls, they looooved them!

Here's my adapted recipe (Originally taken from when Christina Tosi appeared on Live with Regis and Kelly and posted this recipe.
Compost Cookies
Creamables
2 sticks unsalted butter
3/4 cups light brown sugar
1 cup white sugar
1 tablespoon corn syrup
Wet Ingredients
2 large eggs
1 teaspoon pure vanilla extract
Dry Ingredients
1 3/4 cups flour
1 1/2 cups of your favorite baking ingredients (chocoloate chips, rollos, raisenettes, butterscotch chips, white chips, etc.)
1 1/2 cups of your favorite snack foods (potato chips, goldfish, crackers, pretzels, etc.)
1 teaspoon baking soda
2 teaspoons baking powder
1 teaspoon salt
1-2 teaspoons of dry, used coffee grounds or instant espresso powder (optional)
Directions
1) Preheat oven to 400º.
2) In your Kitchen Aid or a large mixing bowl, cream together the creamables.
3) In a small bowl, combine the wet ingredients and whisk together until smooth.
4) Add the combined wet ingredients to the creamables. Mix together until well incorporated.
5) In a large mixing bowl, add the dry ingredients. Using a spatula, fold together until evenly distributed.
6) Slowly add the dry ingredients to the combined creamables and wet ingredients. Mix until evenly combined.
8) Place dough balls, about 2 inches apart on a Silpat or parchment paper-lined cookie sheets.
9) Bake at 400º for 13-14 minutes or until golden brown. Remove the cookie sheets from the oven and let stand for 2 minutes. Then place cookies on wire racks to cool.


0 comments:
Post a Comment